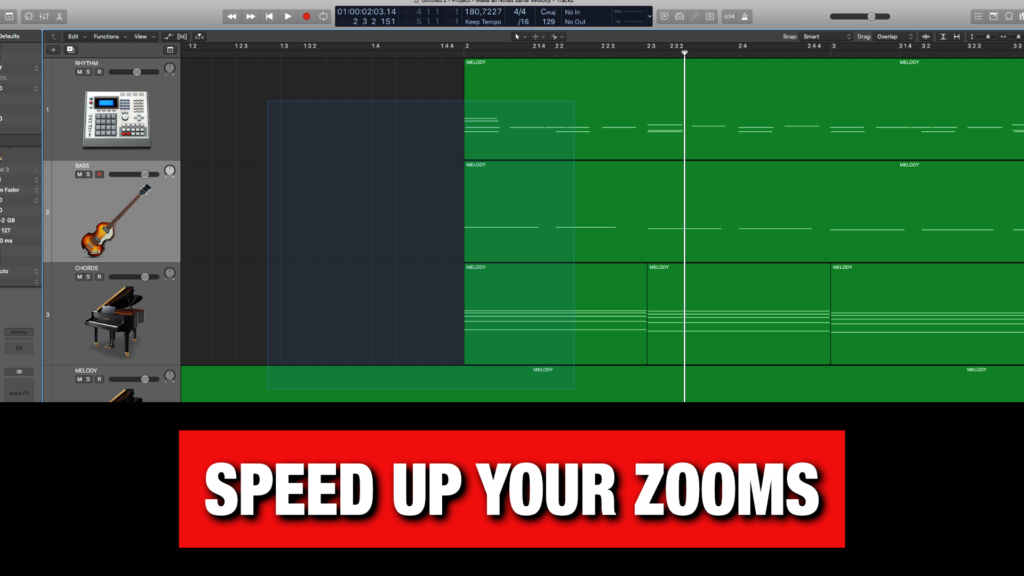
Zoom Shortcuts in Logic Pro X
 Hello Logic users, Mike here. And I know from experience (started in 1998) how incredibly important it is to develop good habits for your “Zooming Workflow” in your DAW.
That is why I made this extensive guide on all the main Zoom Shortcuts (Key Commands) I personally use when composing, producing and working in Logic Pro X.
PS. Feel free to Bookmark this Page for future reference! =)
1. Zoom to Selection or All Content (Z)
The main way to zoom into a selected part in your project is to use the key command (Z).
You can even select several parts, or even notes inside the piano roll editor, then use (Z) to quickly zoom into the selection.
If nothing is selected when you press (Z) this key command will zoom to fit all content.
2. Zoom Tool (Ctrl + Option)
I love using the zoom tool, because it gives me more flexibility, and also more control.
You simply hold (Ctrl + Option) and make your selection that you want to zoom into.
The best part of this method is that it works in several steps, meaning you can zoom in once more by making a new selection with (Ctrl + Option).
And finally, when you want to go back, you simply hold (Ctrl + Option) and left click. This will always take you back to the previous zoom stage, and you can go back several steps in case you zoomed in many levels.
3. Zoom Focused Track (Ctrl + Z)
This will zoom the height of the selected track, but not the width. Which can be nice for seeing the waveform more clearly on audio parts for example.
Another benefit is that when this is toggled on, you can simply select another track in your project, which then will be zoomed in height.
4. Zoom to Fit Locators (Ctrl + Shift + Z)
Sometimes you will want to zoom into a specific section of your song, and that is when the zoom to fit locators can come in handy.
The cycle area does not have to be turned on for this to work, you simply need to make sure your left and right locators are placed where you want them.
5. Previous Zoom Setting (Ctrl + Option + Left-Click)
I already mentioned this command in tip 2, but I honestly find this so incredibly useful that I want to share it with you as its own “zoom command”.
Because sometimes you will mess up the zoom, and knowing that you can always use this command to go back to the previous zoom setting, in several steps, can be a blessing many times.
Simply hold (Ctrl + Option) and left click anywhere in the sequencer.
6. Set Default Track Height (CMD + Drag Track Height)
If you hold down the command key while you drag the bottom of a track up or down, you will set the default track height on all tracks.
This will also set all tracks to that zoom level in height, in case you had different track heights in your projects previously.
7. Zoom Height (CMD + Arrow Up/Down)
If you want to zoom the height (vertical zoom) in steps in or out, you simply hold down the command key while pressing the up or down arrow.
8. Zoom Width (CMD + Arrow Left/Right)
If you want to zoom the height (horizontal zoom) in steps in or out, you simply hold down the command key while pressing the left or right arrow.
9. Zoom Height with Trackpad (Option + 2-finger-swipe Up/Down)
If you have a trackpad you can hold down the option key while you two-finger-swipe up or down to zoom in or out of your project in height (vertical zoom).
10. Zoom Width with Trackpad (Option + 2-finger-swipe Left/Right)
If you have a trackpad you can hold down the option key while you two-finger-swipe left or right to zoom in or out of your project in height (horizontal zoom).
Master Logic Pro X for Music Production
Check out my Logic Pro X Tutorials, Tips & Tricks Videos here

