 Do you use a lot of automation in your Logic Pro projects?
Well, in case you do, you really want to speed up your workflow as it can take quite some time to get all automation in order.
My tip for you today is regarding creating automation points.
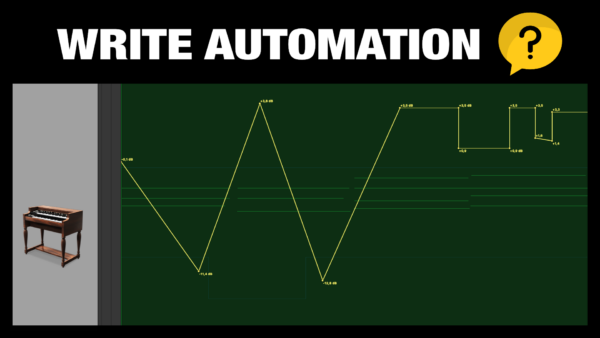
How to Add Automation Points in Logic Pro
Create 1 Automation Point
The fast and easy way to add 1 automation point is to left-click anywhere on an existing automation curve. You can also double-click anywhere outside of the automation line to create a new point. Or you can single-click anywhere outside the automation line if you have the pencil tool active.
Create 2 Automation Points
If you want to create 2 automation points at the same time, you can simply hold SHIFT + OPTION while you left-click and drag out a selection. This will create 2 nodes at the left and right side of your selection.
Create 4 Automation Points
If you are adding automation in the sequencer (not the piano roll editor) you can use the Marquee Tool to add 4 automation points at the same time. Simply make a selection using the Marquee Tool, then left-click anywhere in the selected area, and 4 automation points will be created. Please note that there are 2 points at the left side and 2 points at the right side, so you will not see all 4 until you left-click on the line between them and drag up or down.
If you are working in the piano roll editor, you can use another method to add 4 automation points. You hold down OPTION + CMD and left click anywhere on the automation line, or even above or below it. And you can select and drag the automation points where you like them to be.
You can also hold SHIFT + CTRL + OPTION and drag out a selection to create 4 automation points for that selection area (2 at the left side, 2 at the right side). And this will work both in the sequencer and the piano roll editor for adding automation.