 I am a huge believer in creating your own custom systems in the way you work with your music, in order to create a much faster flow and speed in music composition and production.
You are now going to learn all my top ways and inside secrets on how I have set up and implemented these workflow techniques in my music creation process, so that you can become much more efficient when you make music. Are you ready to master the power of workflow systems in music creation? Let’s begin!
- Productive Studio
- Quick Access System
- Group & Track System
- Visual Guide System
- Articulation System
- CC Automation System
- Mockup System
Productive Studio
How you set up your studio can make a huge difference for your overall workflow and also creative mindset. I personally suggest that you consider two aspects for your studio setup: The Productive Efficiency aspect, and the Creative Ambience aspect.
1 – Productive Efficiency for your Studio
You should make sure that you have all the foundations you need for making music in your studio, but also to have everything easily accessible in terms of being in reach and at an efficient and ergonomic level. Basically, you want to make sure that you have all the gear and tools you need to make music efficiently. And you also want to make sure everything is easily accessible and available to use at any moment. Here are some recommendations for improving your productive efficiency in your studio, based on my personal studio setup:
- Keyboard & Mouse in a Good position
- Main MIDI Keyboard at Piano Height
- Shortcut Tools at Resting Position
- All Expression Controllers nearby
- Microphone & Recording Setup
- All Instruments available for Quick Recording
2 – Creative Ambience for your Studio
This is sadly overlooked by many music composers, but I personally strongly recommend that you take your time to create your own vibe in your studio that inspires your creative mind. This can be ambient mood lighting, inspiring movie posters on the walls, acoustic panels to make your studio feel more like a music studio, and so on.
In this course, you will learn a lot of great things about tools both in hardware and software form that you can use to optimize your studio for creative flow. I recommend that you after completing this full course, do an inventory of your current tools, and then make a plan for how you want to change and improve your studio environment both in terms of creative inspiration and flow, as well as professional efficiency.
Quick Access System
You always want to have quick and easy access to all your instruments, sounds and presets you have. This includes instrument plugins, plugin presets, sample libraries, as well as all your samples. How you can organize this depends on what DAW you use, and what tools you have available, but here are some of the things I recommend you to do if you have the option to do so:
- Organize your Plugins in your DAW
- Organize your Samples on your Computer
- Organize your Favorite Presets in your Plugins
- Organize your Instrument Library in your DAW
- Organize your Insert FX Chains
Group & Track System
How you set up, organize and label your tracks, groups and folders in your project is extremely important. Because if you do it well you will have a much more clear visual structure, and be able to work faster from the improved clarity and organization. Here are the most important aspects I recommend you to set up regarding track structure:
- Folders & Mixing Groups
- Track Icons & Naming
- Color System
Visual Guide System
I have always believed that clarity is key in anything you work with, and that includes music composition and production. Having visual guides that will serve as both as your reference during your creative process, and project overview when coming back later, is incredibly important for optimizing your workflow. Here are the visual guides I recommend you to take advantage of:
- Global Chord Track
- Marker Naming
- Project & Track Notes
Articulation System
If you are working with sample libraries and plugins where you can play the instruments using different articulations and playing styles, you can save a huge amount of time by creating and saving articulation setup in your DAW. Not every DAW have this feature right now, but at the time of this recording I know that Logic has its “Articulation Sets”, Cubase has its “Expression Maps”, Studio One has its “Sound Variations” and Cakewalk has its “Articulation Maps”. They may have different names but all do the same thing though, which is to give you the ability to change the articulation and playing style in a separate area from your MIDI notes. This way when you check the piano roll, all the notes will be actual music notes, and not key switches. If you don’t want to create the articulation sets manually, there are actually people that sell entire collections of them. So if your DAW supports an articulation switching system, make sure to use it to your advantage, and also make sure you save them already activated on your tracks in your project templates, and on your saved instrument presets.
CC Automation System
Writing and performing automation on your instrument parts in your composition is incredibly important to add expression, emotion and variation in your music. Things like dynamics, vibrato, expression etc. are often controlled with CC curves in the automation lane of your DAW. But sadly, there is no single standard of how these CC values are mapped in software instruments. That is why I recommend you to create your own system for mapping CC-automation, and make sure you re-assign CC-values in all your software instruments so that they respond the way you want your system to work. Here is my own CC-automation mapping system that you can use as a starting point or reference:
Dynamic Level= CC 1 (MOD-wheel)
Vibrato Strength = CC 2
Flutter = CC3
Growl = CC4
Expression (volume) = CC 11
Special 1 = CC 16
Special 2 = CC 17
Special 3 = CC 18
Special 4 = CC 19
Mockup System
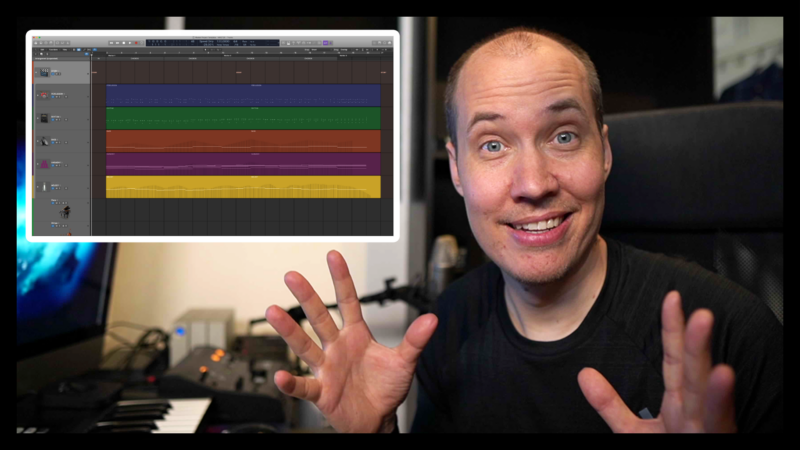
Many music composers like to sketch the main ideas before they start the actual composing process, and I personally love this method. For some of you it might be enough to have a simple piano sketch on one track. But I would like to teach you a very nice method for creating a mockup system that can provide all the essential elements of music in only 4-5 tracks. So the way I like to do this is to create a folder or group in the top of my sequencer, then name it “Mockup”. Inside this folder I then create the individual tracks that I will use for the mockup of the music. I recommend that you stick to the essentials of music when you decide which tracks to include, which are:
- Drums & Percussion
- Rhythm & Drive
- Chords & Harmony
- Melody & Theme
Then you simply choose the instrumentation that can represent all these main elements of music in your mockup system. For example:
- Drums
- Bass
- Piano
- Vocals
