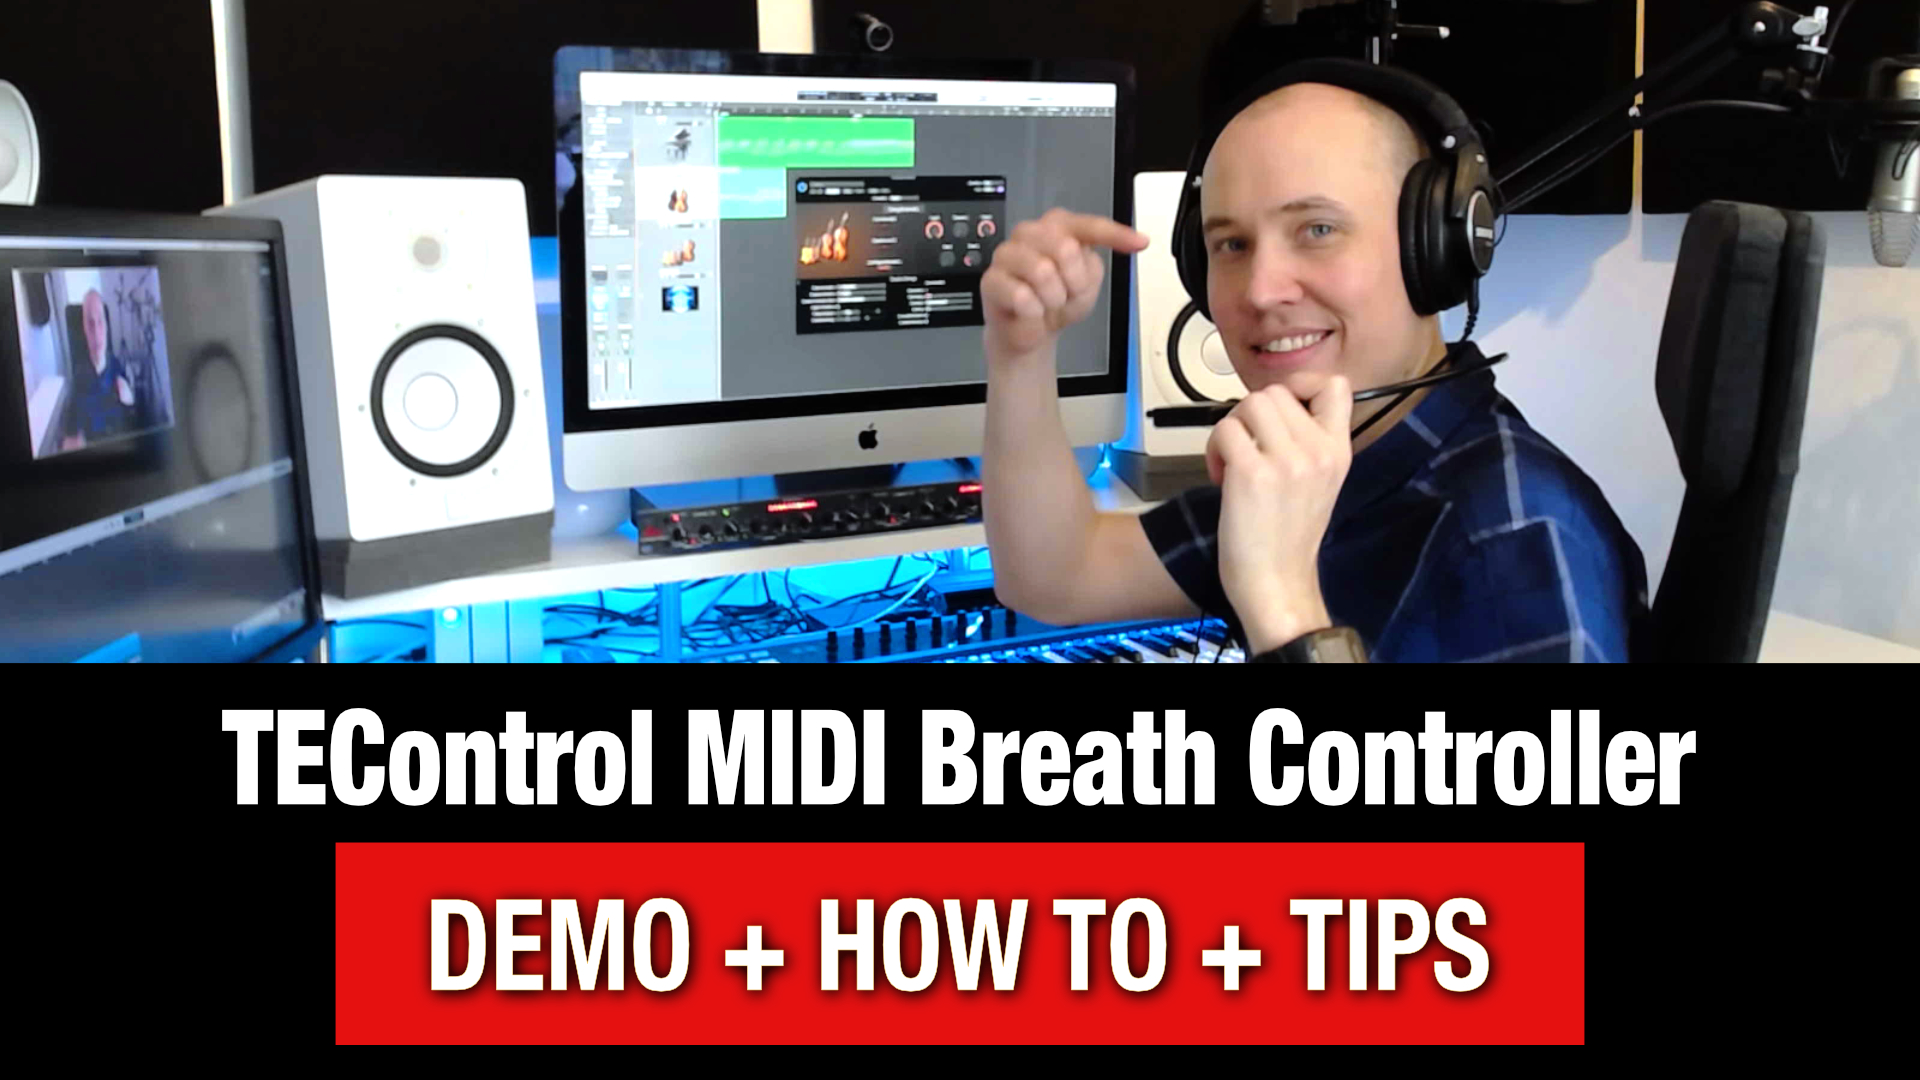
Learn how to use a MIDI breath controller to add expression to the instruments when you compose music. Read on, or Watch the Video.
What is a MIDI Breath Controller?
 First, here is my quick explanation of what a MIDI Breath Controller is: Basically it is a USB-connected device, that you blow air into…and it measures the pressure of that air stream.
This is translated into MIDI CC-values. And finally, in your software instrument, you map what you want those CC-values to control. For example dynamics, filters, vibrato etc.
What is this TEControl Breath Controller (BBC2)?
This is the great part. This specific Breath Controller offers much more than a standard MIDI Breath Controller. Because while a standard breath controller offers great expression from measuring the air you blow into the air-piece.
The TEControl BBC2 Breath Controller has 3 more additional expression controls. It has a bite sensor which measures how hard you bite on this mouth-piece. A nod sensor which tracks when you move your head up or down. And a tilt-sensor for when you tilt your head left to right. All in all this gives you 4 expression controllers from using this single device.
Setup the TEControl MIDI Breath Controller
Step 1 – Download the Manual and Install the Software
Simply go to TEControls website, to the product page, and make sure you download the manual and software, and then install the software on your computer.
Step 2 – Connect the TEControl Device to a USB-port
You don’t need any drivers, so it should simply be plug and play.
Step 3 – Test your TEControl Breath Controller
Start up the software you just installed, and here you will see 4 lines. Each line represents one of the expression values: Breath, Bite, Nod and Tilt. So try them all out to see that all those dots are moving around on the lines for each of the expression features you perform.
Step 4 – The CC Settings for each type of Expression
I recommend that when you start you simply leave these settings at the default value, because they do make sense. And when you get more experienced in using this product, you can go in here to make your custom setup. But for starting out, I recommend only using the software to confirm all data values are recorded.
Step 5 – Adjust the Breath Pressure
There is a small little knob here to the side of the product, which basically is like the exhaust pipe of a car. Here is where all that air you push into the device goes out. And you can dial this knob for how much pressure you prefer to feel when blowing air into the product. If you dial too much you will basically close the air stream entirely.
Step 6 – Set it up in your DAW
Whatever DAW you use, you need to make sure the TEControl USB-device is recognized as a MIDI input device. Also, on the instrument channel, make sure that the track is set up to listen to all MIDI Channels, usually it will say “All” or “Omni”.
Alright, you are good to go now. Now the fun part begins, which is to map your expression controls from this amazing device, to whatever values you can control in your software instruments. So go crazy, and have fun experimenting with mapping and controlling expression on all kinds of parameters! =)
Your Action Time
 Are you ready to level up and advance your career as a music composer?
Then Join my Music Composer Academy
It is free to join, and you will get instant access to free courses and resources.
PS. I wish you Great Success on your Professional Journey in Music! =)
Friendly regards,
Mikael “Mike” Baggström
Music Composer | Sound Designer
