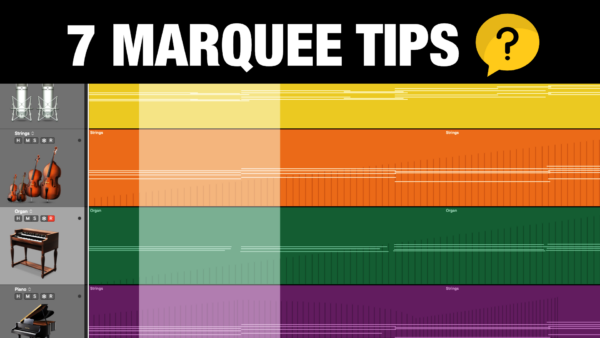
 The Marquee Tool in Logic Pro is way more powerful than you think.
Because you can use it to do a range of tasks, and if you learn these shortcuts, you will increase your workflow speed when producing in Logic.
1 – Slice Region
If you select part of a region with the marquee tool, you can then simply left-click on the region with your pointer tool to slice the clip based on your marquee selection. This works both on audio regions and MIDI regions.
2 – Trim Region
After making a selection with the marquee tool, you can press “delete” (backspace) to trim out the selected part.
3 – Go to Selection
When you make a marquee selection, you can go instantly to the start and play from that point. Press SHIFT + Spacebar.
4 – Set Cycle
After you make a marquee selection, you can press CMD + U, and you will set the left and right cycle locators to your selection.
5 – Copy Selection
You can also copy and drag a marquee selection on any regions without cutting the clip. Simply make a marquee selection, and then hold OPTION while you left-click and drag the copied part to wherever you want it.
6 – Quick Automation
If you want to add multiple automation points at the same time, you can use the marquee tool to drag a selection over an automation curve, and then click on the selection. This will create 4 automation points, so you can simply click on it and drag up or down.
Bonus Tip: Another way to do this technique is to hold SHIFT + CTRL + OPTION when you make a selection on an automation curve.
7 – Transient Selection
If you don’t drag a selection with the marquee tool, but instead just click once anywhere in a region, you will get a starting point for the selection. If you do this on audio regions you can jump between transients. And if you hold SHIFT while doing so you can make a selection based on those transients. If you use this technique on MIDI regions you will jump between note start and end points.

