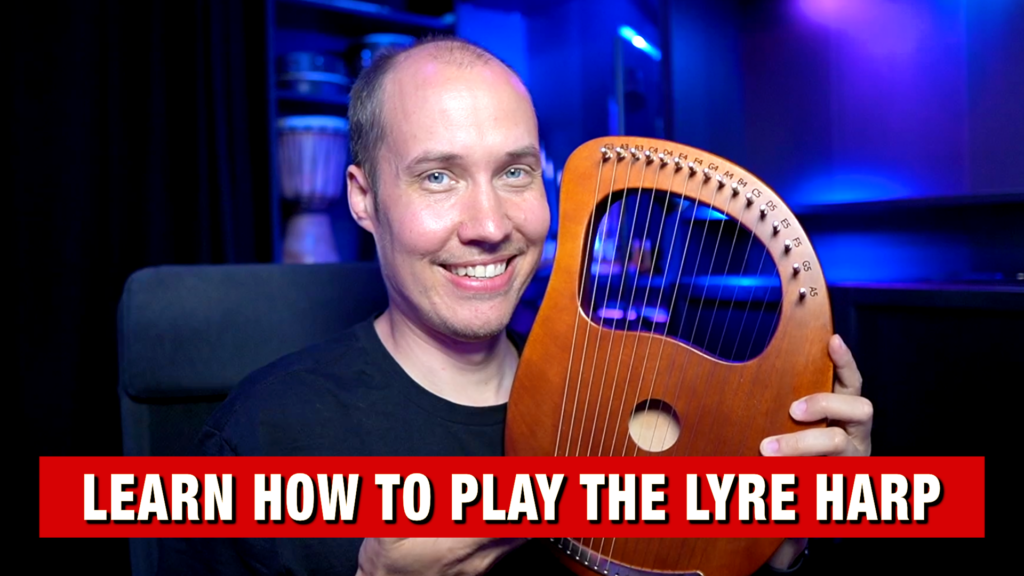
 Hello, and welcome to this class, where you will learn how to play this amazing instrument called a “Lyre”. It is basically like a small harp, so it is often also called a Lyre Harp.
The lyre is an ancient instrument often used to portrait angels and divinity. And it is truly one of the most relaxing, magical and beautiful sounding instruments you can play. And the best part is that it is very easy to learn, even for beginners who never played a music instrument before.
My name is Mike, and I made this class for you, to give you a great foundation for playing this beautiful instrument. You can start a complete beginner on this instrument, and after only a few weeks be able to play melodies, harmonies, arpeggios, and any songs and tunes you want to play.
Check out the Class here: Learn How to Play the Lyre Harp
Let’s have a look at the Class Overview:
- Learn all the Basics of Playing the Lyre
- Get Practical Tips, Exercises and Examples
- Playing Techniques for Variation & Emotion
- Learning Songs & Tunes on Your Lyre
Let’s Learn How to Play the Lyre
Do you already play another music instrument? Or perhaps this is your first instrument? To be honest, it does not matter. As long as you love the sound of the lyre, and would love to be able to play this incredibly beautiful instrument…this class is perfect for you.
Because you will get everything you need to learn how to play the lyre, taking you from a complete beginner, to playing songs and tunes, to improvising your own melodies. After this class, you will feel the joy that comes from being able to play the lyre.
Now I welcome you to a new amazing adventure in music. So let’s start your journey on the lyre, right now!
The Amazing Lyre Harp
The lyre is an amazing instrument with a magnificent, peaceful and beautiful sound. It is in fact an ancient instrument that has been used in many cultures around the world for 1000s of years, but mainly associated with ancient Greece.
It is an open string instrument, meaning there is nothing behind the strings to push them against. Compare this to a guitar which has a fretboard with frets.
Instead each string is its own notes. This creates a very open and rich sound. The strings are laid out in a very simple way, starting with the lowest on one side, and then going up one note with each string until you reach the highest string at the opposite side of the lyre.
Another big difference is that the traditional lyre is a diatonic instrument, which means that the strings are tuned to a specific scale, in most cases it will be tuned as the white keys on a piano keyboard. Meaning that it will play in C Major and the relative A minor scale.
The advantage of this is that it is easy to play melodies, harmonies, chords, arpeggios, glissandos etc. on the lyre. However, there is a downside as well. Which is that you will not be able to play accidentals on your lyre.
An accidental is a note that is outside of the scale and key of the song. Basically, you want to choose any song that stick to the notes of whatever scale and key it is written in.
This brings us to the tuning of a lyre. Because even though the lyre is most commonly tuned to C Major and A Minor (all white keys on a piano), you can tune any string up and down to get a different scale.
Let’s say a song is written in D minor. Then you can simply tune down the B strings to Bb, and your lyre will play in the D Minor scale.
There are a lot of different designs of the lyre, in various shapes, wood, colors etc. But most importantly, they come in different amount of strings. I have seen lyres with everything from 7 strings to 21 strings.
The more strings you have, the more range of notes you will be able to play. But the downside is of course that you have to tune more strings.
I have a lyre with 16 strings, and I would not personally want fewer strings than this, because with too few strings there are songs and tunes that will be out of range for your lyre.
The lyre is simply an amazing, relaxing and beautiful instrument. Perfect for beginners who never played an instrument, because it is easy to learn. But also incredible for experienced musicians who want to expand their sound palette and add that relaxing, rich and open sound the lyre is famous for.
So I ask you now, my fellow musical friend…are you ready to learn how to play this ancient, magical and almost heavenly sounding instrument?
Choosing your Lyre
Did you already buy a lyre harp? Well, I still want to give you my advice for choosing and buying a lyre.
Sadly there are so many cheaply produced lyre harps on the market. Some instruments are even unplayable, because they can not hold the tuning at all, have strings that breaks all the time, or simply sounds bad. You will do yourself a huge favor by avoiding these cheap instruments. Make sure to read the reviews before you buy,
I also suggest picking one with at least 16 strings, because then you will be able to play more tunes compared to one with too few strings.
Make sure the lyre has a “nut”, which is a raised bar that the strings go over. This helps with the tone and tuning. Your lyre should also come with a tuning tool, and hopefully an extra set of strings.
Regarding other design choices, the color does not matter, but I recommend to get a lyre with strings in metal because they hold the tuning much better than nylon strings.
I also personally recommend a lyre harp with a sound hole and resonance body because it makes the sound more full and rich.
Also, take a good look at the top of the strings, where the note names should be clearly labeled so that you can read them as you hold your harp and play any tune. If the note names are engraved, that is much better than simply painted or printed.
Ok so where should you buy a lyre? Well, you can of course buy a lyre on Amazon or Ebay, and perhaps you will get lucky.
But in my experience there are a lot of bad products on marketplaces like this, so what I recommend is buying from an actual music store, or even better, directly from a vendor that specialise in lyre harps. I bought my lyre from an online music store in Europe called Thomann.
Good luck lyre hunting, I hope you will find a good instrument that you are happy with.
Tuning your Lyre
Tuning a string instrument, and particularly the lyre, is something you will need to get used to do often. Because strings go out of tune over time, regardless if you play them or not.
I strongly recommend that you always have a tuner available when you practice and play your lyre. You can use a standalone tuner device, but I would suggest installing a tuner app on your smartphone, and then opening that app up every time you pick up your lyre to play or practice. You should start every session by tuning all strings of your lyre.
When you first get your instrument, or if you just put on new strings, it will take quite a while before the strings and tuning will settle down.
What I recommend is that you start by tuning the strings, according to the note names on the labels, and then leave the lyre for a day, without playing or practicing.
You may have to do this for a few days until the strings settled and the tuning will hold good enough to be able to start playing. Also, be very careful and delicate when you tune, because the strings break easily.
Now let’s tune your lyre:
- Start your tuner app
- Use the included tuner tool
- Start with the lowest string
- Turn very slowly in tiny amounts
- Pluck the string as you turn to check tuning
- Tune each string according to the note labels
- Re-check each string and adjust as needed
Your lyre will be playable as long as all strings are within +/- 15 cents of a note. You will always need to check and re-tune your lyre at the start of each practice or playing session. But in time this will become habit, and you will be able to do it very quickly.
Holding your Lyre
Now that your lyre is in tune, let’s learn the basics of how you hold it, pluck the strings, and play notes and tunes on your lyre.
There is no perfect way to hold a lyre harp, but I will teach you a good starting point, and then you can choose to adapt to what suits your playing style and comfort.
Start by picking it up with your left hand (if you are right handed), and grip the far side of the opening behind the strings. Your thumb should be at the inside of the lyre frame, for the best grip and support.
Then place the lyre so that it leans against your chest for extra stability. The note labels and tuning screws will be slightly below your eye level, so you are looking a bit down when playing. Tilt the lyre a bit so that the instrument is at an angle with the top a bit further away from you.
That way the strings will be easily accessible to pluck with your right hand, and the labels clearly in sight so you can see what notes you play. You will also get good stability holding the lyre this way, as well as nice comfort and plucking angle and position for your fingers.
Another way of playing a lyre, which some players prefer, is to put it down flat on a surface like a table in front of you. If you do this I recommend placing it in an angle so the note labels and tuning screws are to the left.
Because if you place your lyre so that you have the tuning screws at the far side from you, it will be hard to pluck the strings in a clean and clear way.
Plucking the Strings
Now that your lyre is in tune, and you have learned how to hold your instrument properly for easy access and playability, it’s time to pluck some strings and make beautiful sounds with your lyre.
What Fingers to use
As a beginner on the lyre, I would recommend sticking to using your thumb, index finger and middle finger. When you get more experienced you can add the ring finger and pinkie as well, in order to play arpeggios and bigger intervals easier and without having to move your hand as much. But start with 3 fingers: thumb, index and middle finger.
Pluck Direction
It’s actually really simple, you pluck the strings in the direction your fingers are naturally facing. So your thumb will pluck the strings away from your body. And your other fingers will pluck towards your body.
Where to Pluck the Strings
I recommend plucking the strings just over the open area of the lyre, where the instrument is cut out. That’s where the strings will have the most space between them, making it easier to avoid accidentally touching the wrong string when you pluck the strings. It’s also closer to the string labels which make it easier to keep track of what notes you play.
How to Pluck the Strings
You simply place your finger on the side of the string, and lightly pluck it in the finger direction. Also make sure that when you pluck the string, you move your finger out from the lyre and towards you, to avoid that your finger will touch the string next to the one you pluck.
Improve your Plucking
A mistake many beginners on the lyre harp make, is to allow your hand and fingers to get too far away from the strings after you pluck the strings. What you want to do instead is to always keep your fingers very close to the strings at all times. This way your fingers have way less distance to move when you pluck any string, and you will increase your aim and efficiency.
Basic Lyre Exercises
Congratulations! You now have a nice overview of the lyre, what do think about when choosing and buying an instrument, and you learned all the basics: how to tune the strings, how to hold it, tips for improving your plucking of the strings. I will now give you a few exercises that you can do as a daily practice routine as a beginner, to get used to playing your lyre.
All Strings Up and Down in 3’s
Use your thumb, index finger and middle finger, and then pluck all the strings one by one starting from the lowest and going all the way to the highest string. Pluck in 3’s, meaning thumb, then index, then middle finger. Then move your hand and start over with your thumb again. Once you reach the highest string, you start again but play in the opposite order: middle finger, index finger thumb. And go down through all the strings, 3 strings at a time.
All Strings Up and Down – 1, 3, 2, 3
Start from the lowest string and play in a 1, 3, 2, 3 pattern. 1 is your thumb, 2 is your middle finger, and 3 is your middle finger. After each pattern you move up 1 string and repeat again. Do this all the way until you reach the highest string. Then you do the same but with the opposite pattern going from the highest to the lowest string, meaning: 3, 1, 2, 1.
All Strings Up and Down – 1, 3, 5
Since a chord on the lyre is based on skipping a string, you should also practice playing the strings up and down in a 1, 3, 5 pattern. Again, use your thumb, index and middle finger, and do this exercise going up and down the entire range of your lyre.
You are doing great! Are you ready now for playing melodies, harmonies, arpeggios and beautiful music on your lyre? Then let’s move on to the next lesson of this class.
